

As a web designer, I am always on the lookout for tools that can streamline the design process and make my life easier. That’s why I was excited to discover Thrive Themes, a WordPress theme and plugin suite designed specifically for marketers and entrepreneurs.
Benefits of using Thrive Themes
Before we dive into the installation process, let’s take a moment to explore some of the key benefits of using Thrive Themes for WordPress.
Conversions to grow your business
Thrive Themes offers a range of tools and features that can help you create a professional-looking website in no time. With its drag-and-drop page builder, customizable landing pages, and built-in lead generation tools, Thrive Themes can help you boost conversions and grow your business.
Easy to understand
Whether you’re a seasoned designer or just getting started with WordPress, this guide will give you the tools you need to master Thrive Themes and take your website design to the next level.
Convert Visitors into Customers
First and foremost, Thrive Themes is designed to help you convert visitors into customers. With its built-in lead generation tools and customizable landing pages, you can create a website optimized for conversions and designed to drive sales.
No Experience Required
In addition, Thrive Themes is incredibly user-friendly and easy to use. Even if you have no prior experience with WordPress or website design, you can use Thrive Themes to create a professional-looking website in no time.
Customizable and Flexible
Finally, Thrive Themes is highly customizable and flexible. With its drag-and-drop page builder and extensive customization options, you can create a website that perfectly reflects your brand and meets your specific needs.

In this step-by-step guide, I will walk you through installing and using Thrive Themes to design your WordPress website.
Getting Started with Thrive Themes – Installation and Activation on WordPress
Now that we’ve covered some of the key benefits of using Thrive Themes, let’s dive into the installation process. Follow the steps below to get started with the Thrive Themes Installation and Activation of WordPress.
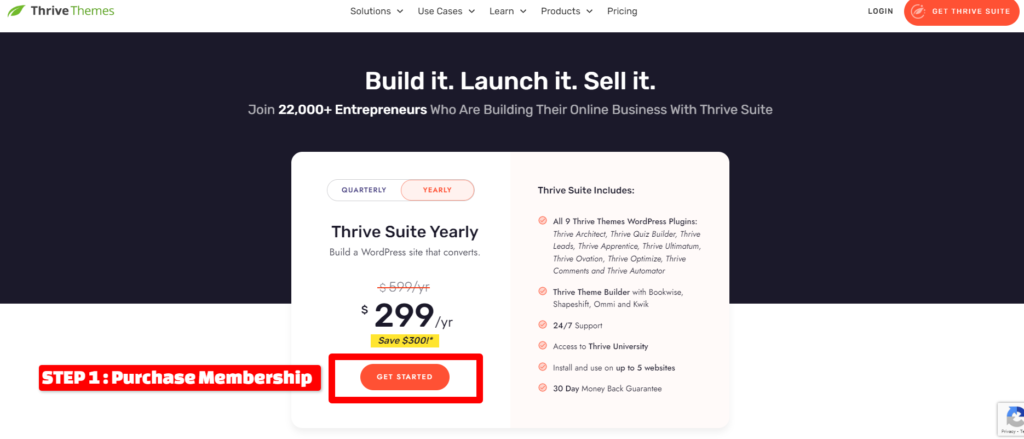
Purchase Membership
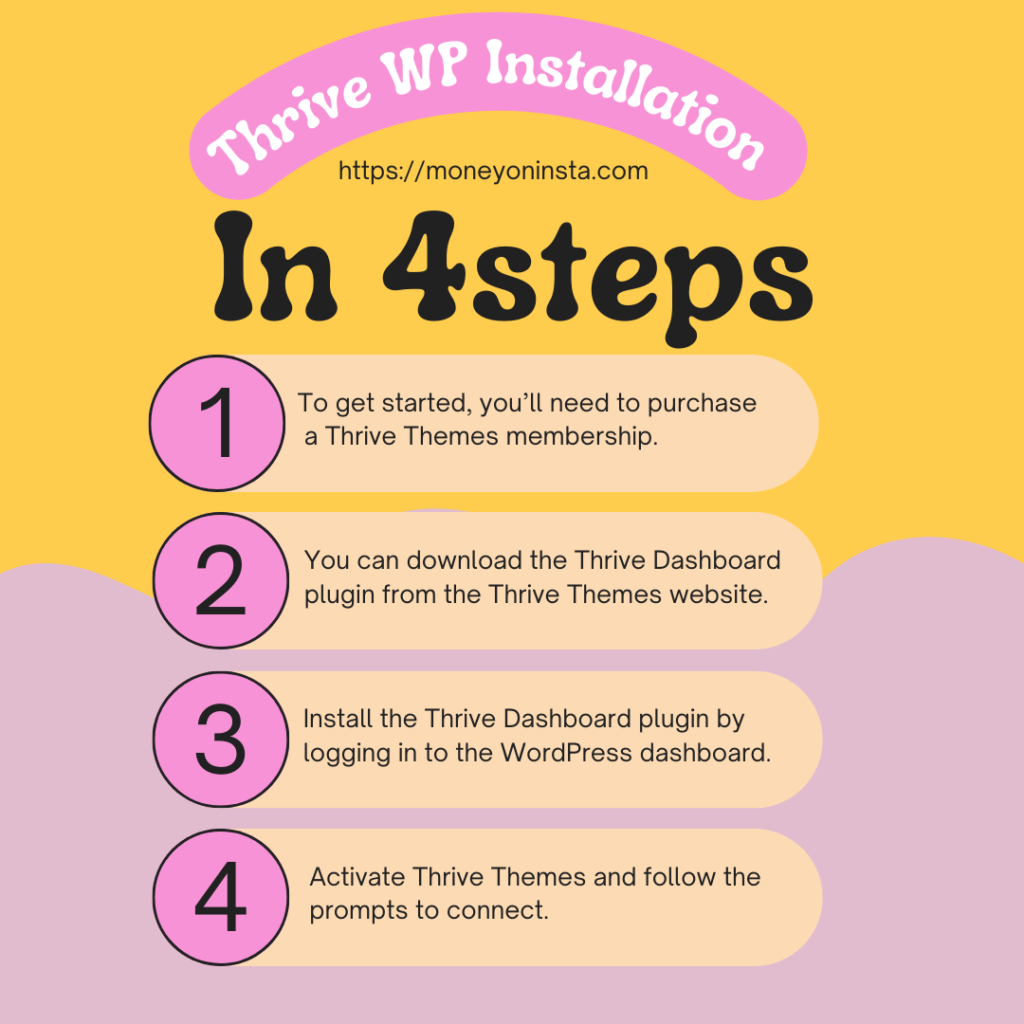
To get started, you’ll need to purchase a Thrive Themes membership.
This will give you access to all of the themes and plugins in the Thrive Themes suite, as well as regular updates and support.
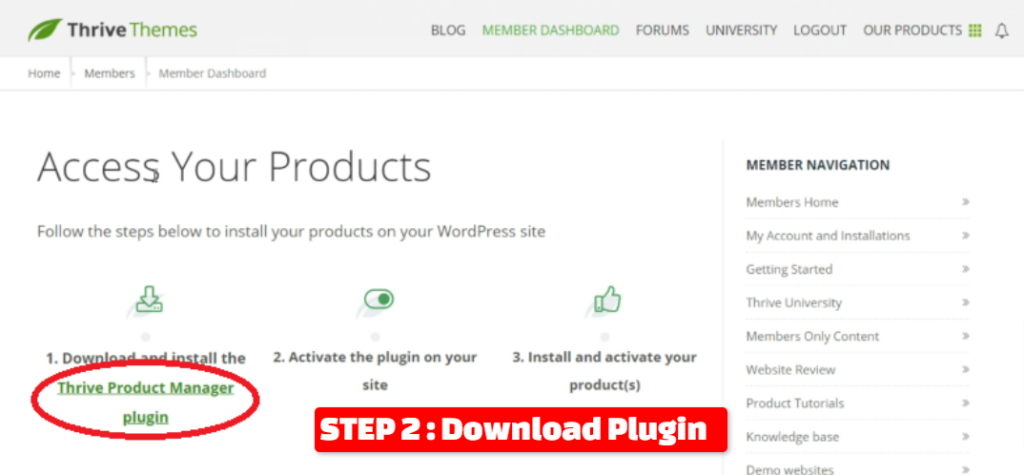
Download Thrive Dashboard
Once you’ve purchased your membership, you can download the Thrive Dashboard plugin from the Thrive Themes website.
Your main hub for controlling all of your Thrive Themes goods will be this plugin.
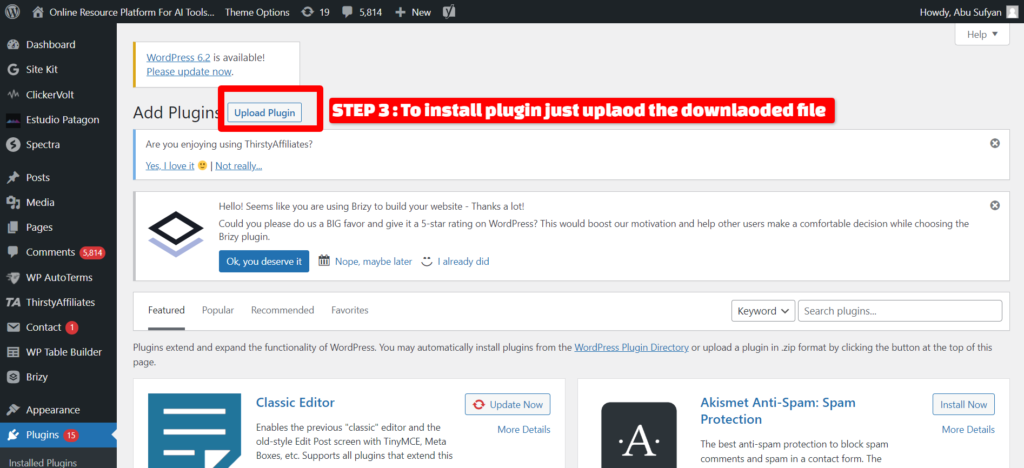
Install Thrive Dashboard Plugin
To install the Thrive Dashboard plugin, simply login to your WordPress dashboard and navigate to Plugins > Add New.
From there, click on the “Upload Plugin” button and select the Thrive Dashboard zip file that you downloaded from the Thrive Themes website.
Activate and Connect
Once the plugin is installed, activate it and follow the prompts to connect your Thrive Themes account.
This will give you access to all of the themes and plugins in the Thrive Themes suite.
How to completely unlock the features and benefits of Thrive Themes
Follow the steps below to access the complete features of the Thrive Suit.
- In your WordPress admin dashboard, go to “Thrive Dashboard” in the left-hand menu.
- Click on the “Settings” tab. Click on the “License” tab. Copy your license key from your Thrive Themes account.
- Paste the license key into the “License Key” field in the WordPress dashboard.
- Click on the “Save License Key” button.
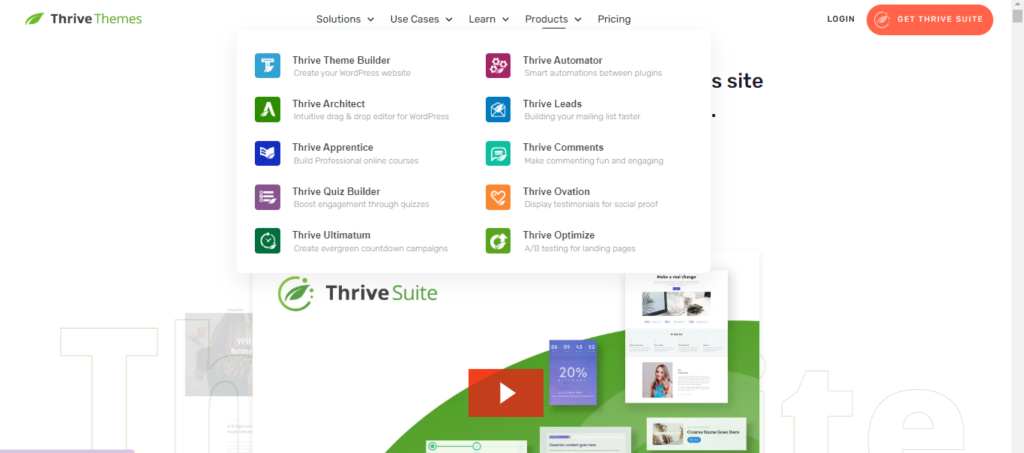
Overview of Thrive Dashboard
With the Thrive Product Manager installed and connected to your account, you can now easily install Thrive Themes products by Thrive Dashboard.
Follow the steps below
- In your WordPress admin dashboard, go to “Thrive Dashboard” in the left-hand menu.
- Click on the “Thrive Products” tab.
- Browse the available Thrive Themes products and click on the “Install” button next to the product you want to install.
- Wait for the installation process to complete.
- Once installed, click on the “Activate” button to activate the product.
- Repeat steps 3-5 for each product you want to install.
Setting up your Theme Options and Customizing your Site
Once you have installed and activated Thrive Themes, it’s time to customize your website.
- To begin, head to your WordPress dashboard and go to Appearance > Themes.
- Activate the Thrive Theme of your choice.
- After activating the theme, you can proceed to customize your site by going to Appearance > Customize.
- From the customization menu, you will have the ability to modify your site’s logo, fonts, colors, and layout.
- Additionally, you can incorporate custom CSS and JavaScript to further tailor your site to your liking.
- Alongside the built-in customization options, Thrive Themes provides a variety of plugins that can enhance the functionality of your website.
Creating Pages and Posts with Thrive Architect
Thrive Themes offers a powerful drag-and-drop page builder called Thrive Architect, which allows you to effortlessly create custom pages and posts using an intuitive interface.
- To begin using Thrive Architect, go to your WordPress dashboard and navigate to Pages > Add New.
- Then, click on the “Edit with Thrive Architect” button to launch the Thrive Architect editor, where you can start crafting your personalized page or post.
- Within the Thrive Architect editor, you have the freedom to add and customize various elements such as text, images, videos, buttons, and more.
- You can also enhance the layout of your content by incorporating columns, rows, and sections.
- Thrive Architect’s flexibility and customization options make it suitable for any project, whether it’s a straightforward blog post or a complex landing page.
- Regardless of your requirements, Thrive Architect empowers you to design and create a visually appealing and functional layout that perfectly aligns with your needs.
Designing Landing Pages with Thrive Architect
In addition to its page builder, Thrive Architect provides a variety of templates and tools tailored for creating high-converting landing pages.
These tools enable you to design custom landing pages that are optimized for driving sales and maximizing conversions.
Steps to design landing pages with Thrive Architect.
- To begin designing a landing page, access your WordPress dashboard and navigate to Pages > Add New.
- From there, select the “Landing Page” template from Thrive Architect’s template library.
- This selection will provide you with a blank canvas to start building your unique landing page.
- Next, you can add and customize various elements to enhance your landing page’s effectiveness.
- These elements include headlines, images, videos, opt-in forms, and more.
Creating Opt-in Forms with Thrive Leads
Thrive Themes includes a powerful built-in tool called Thrive Leads, which focuses on opt-in form creation and lead generation.
This tool enables you to design personalized opt-in forms, pop-ups, and lead-generation campaigns that are specifically designed to drive conversions and expand your email list.
- To begin using Thrive Leads, access your WordPress dashboard and navigate to Thrive Dashboard > Thrive Leads.
- Once there, you can create custom opt-in forms and lead generation campaigns using an intuitive and user-friendly interface.
- Thrive Leads provides a wide range of customization options, including form design, targeting preferences, and trigger settings.
- You have the freedom to design forms that align with your branding and style.
Integrating Thrive Themes with Email Marketing Platforms
To effectively manage your email list and send marketing emails as part of your lead generation campaign, it’s essential to integrate Thrive Themes with an email marketing platform.
The good news is that Thrive Themes seamlessly integrates with various Email Marketing platforms, such as Mailchimp, AWeber, and ConvertKit.
The Procedure of Integrating Thrive Themes
To integrate Thrive Themes with your chosen email marketing platform, navigate to Thrive Dashboard > API Connections within your WordPress dashboard.
Follow Instructions and Prompts
Follow the provided instructions and prompts to connect your email marketing account with Thrive Themes.
Start Generating Campaigns
Once the integration is complete, you can take advantage of Thrive Leads and other tools offered by Thrive Themes to create custom opt-in forms and lead generation campaigns.
Synchronization of Campaigns
These campaigns will automatically synchronize with your email marketing platform, ensuring a seamless flow of data and streamlined management of your subscribers.
Common Issues and Troubleshooting Tips
As with any software or tool, you may encounter issues or problems when using Thrive Themes.
Documentation and Support
Luckily, the Thrive Themes team offers extensive documentation and support to help you troubleshoot any issues that you may encounter.
Thrive Community and Forums
If you’re having trouble with a specific feature or plugin, be sure to check the Thrive Knowledge Base and support forums for answers.
You can also contact the Thrive Themes support team directly for personalized assistance.